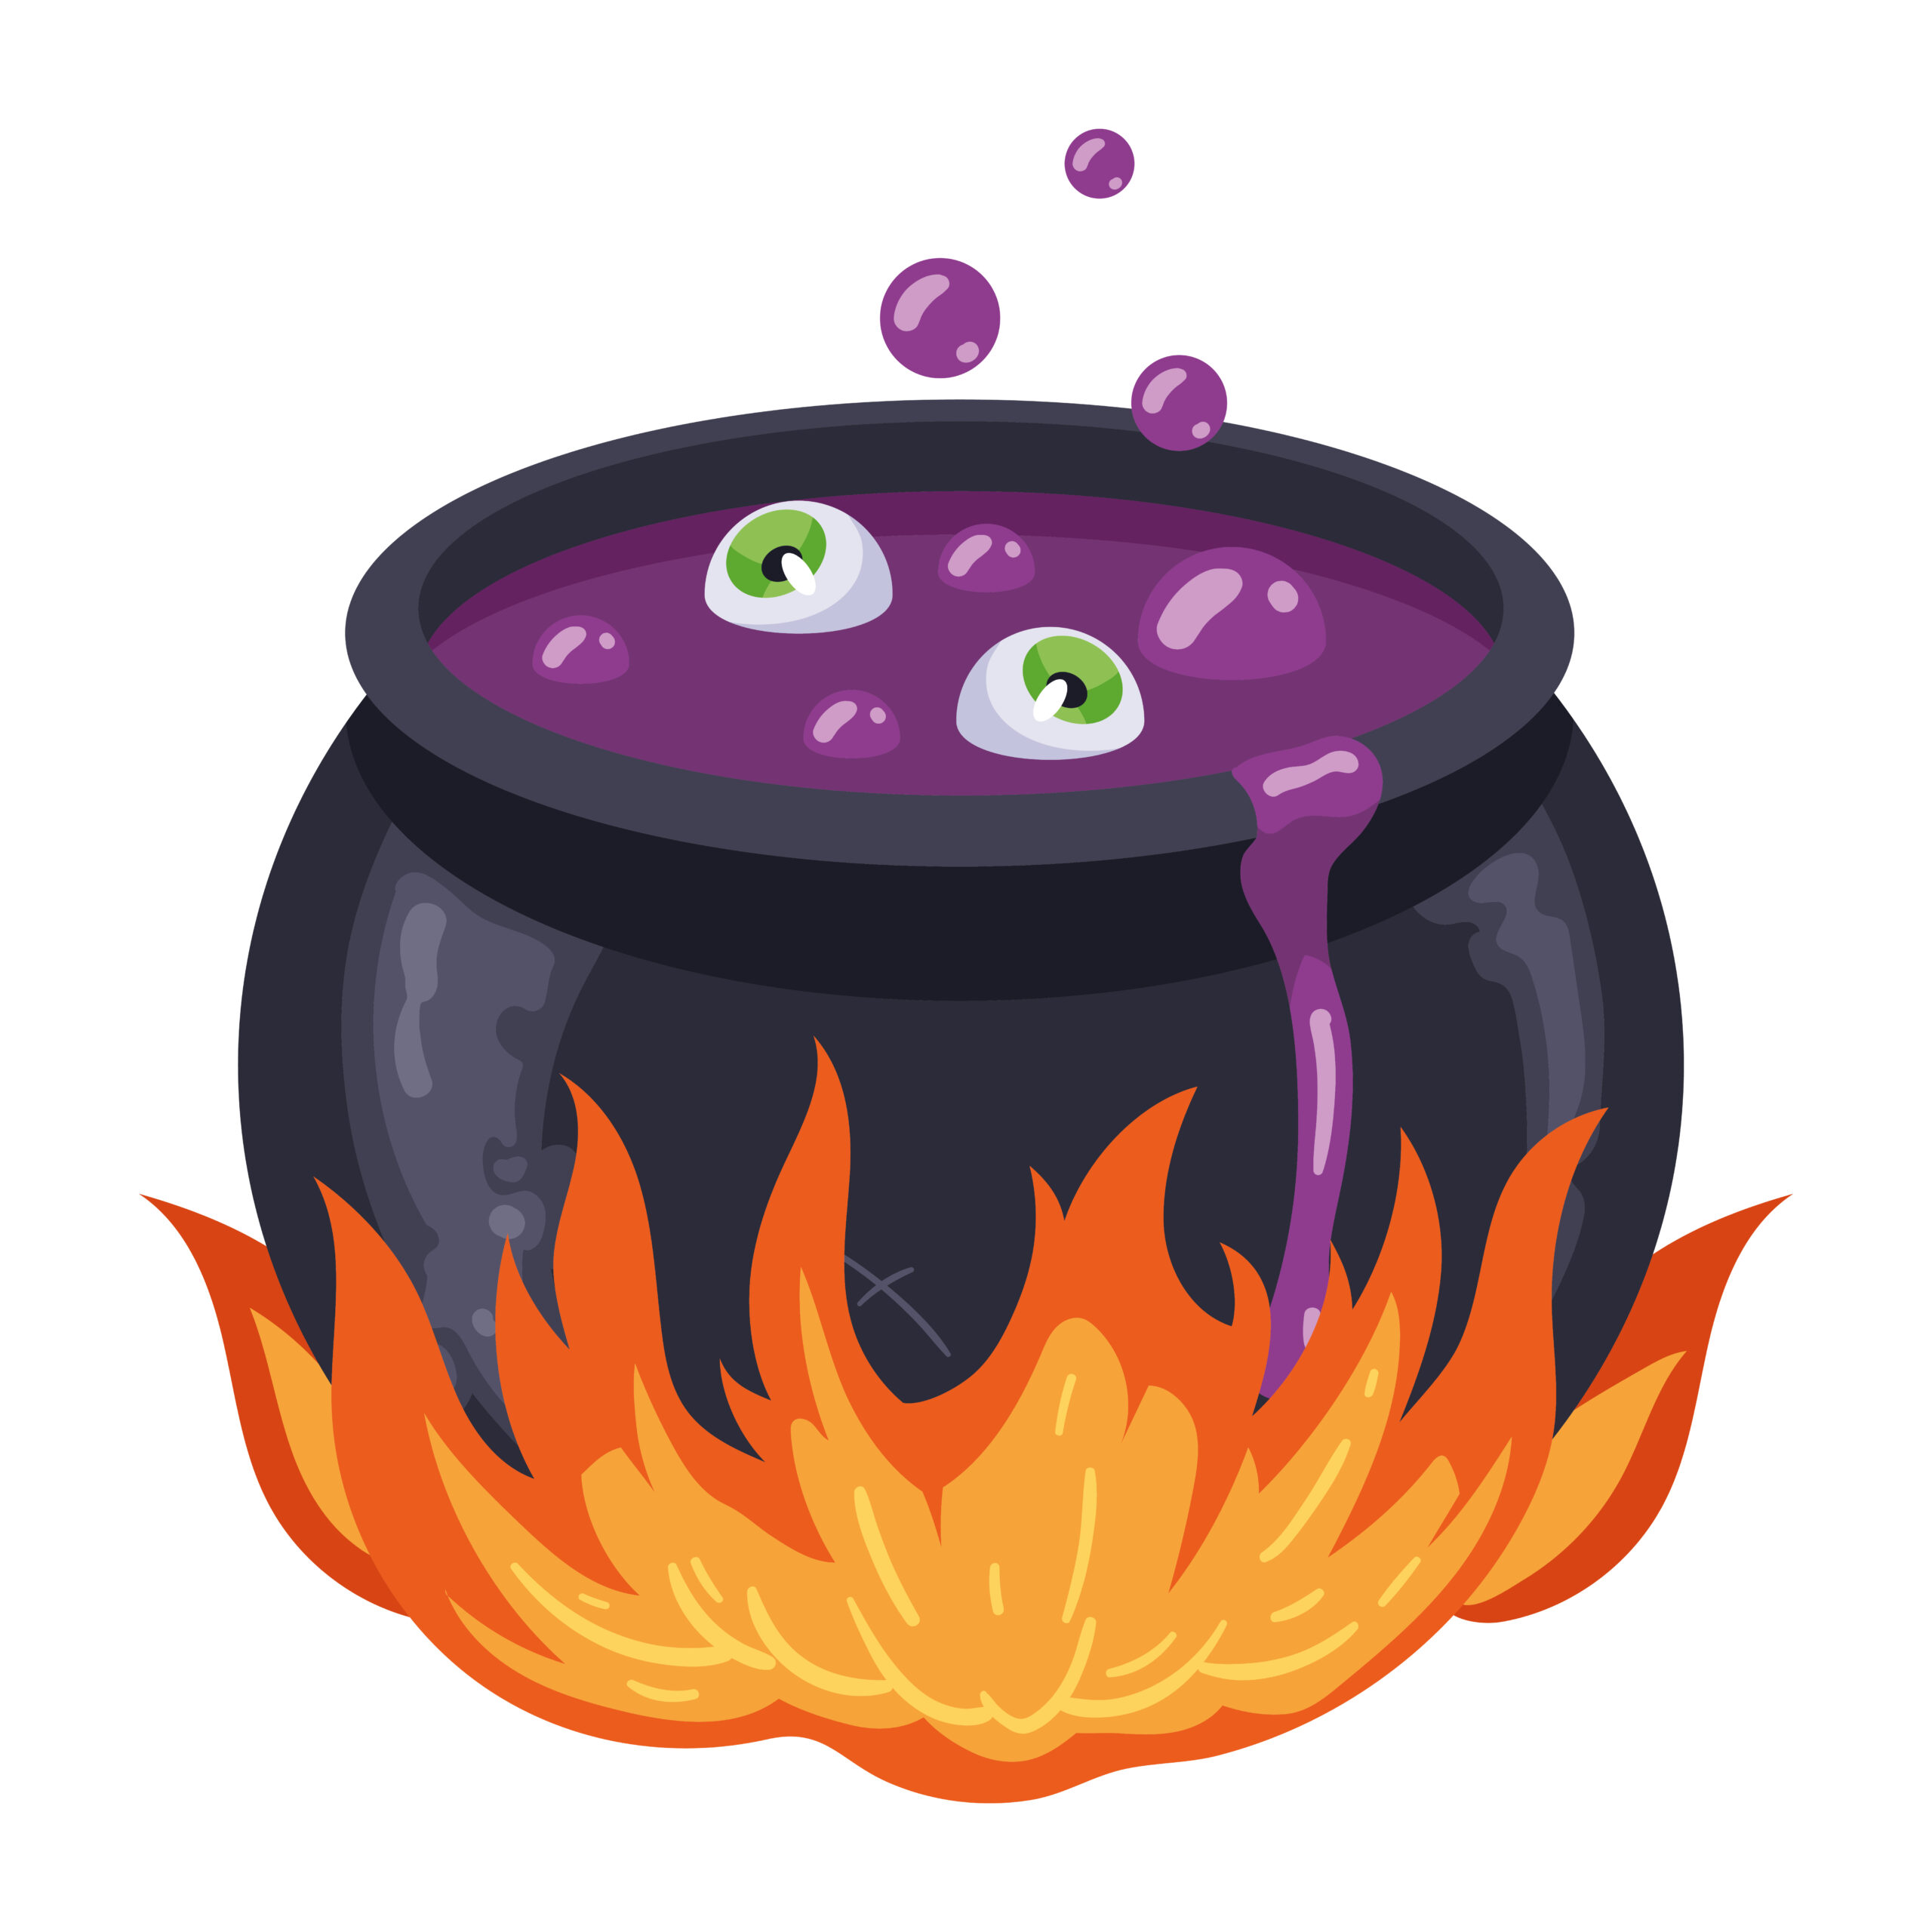
How to Make a Bubbling Cauldron for Halloween
How to Make a Bubbling Cauldron for Halloween
A black pot sitting beside a pumpkin looks festive enough. Add a rising layer of green foam, and suddenly it becomes the decoration everyone gathers around. Children want to know what is inside. Adults reach for their phones. Even a small Halloween display starts to feel like a scene from a witch’s kitchen.
The good news is that you do not need a large budget, a real fire, or complicated equipment to create that moment. A bubbling cauldron can be a simple, supervised activity made with household ingredients. You can also build a dry version that looks full of bubbles and comes out again next October.
The important first decision is whether you want actual moving foam, a permanent decoration, or drifting fog. These effects look similar in photographs, but they work differently.
This guide starts with a straightforward baking soda and vinegar method, then explains how to style your display, avoid common problems, and choose a reusable alternative. The aim is a Halloween project that looks impressive without becoming difficult to manage.
- Bubbling Cauldron Options: Choose Your Halloween Effect
- Bubbling Cauldron Supplies for the Simple Foaming Method
- Bubbling Cauldron Preparation: Set Up Before You Mix
- Bubbling Cauldron Instructions: Make the Foam Rise
- Bubbling Cauldron Timing: Plan the Reveal Around the Reaction
- Bubbling Cauldron Colour Ideas That Look Good in Real Life
- Bubbling Cauldron Decorations: Build a Scene Around the Pot
- Bubbling Cauldron Lighting Without a Real Flame
- Bubbling Cauldron Alternative: Make Reusable Imitation Bubbles
- Bubbling Cauldron Fog: Understand the Difference Before Adding It
- Bubbling Cauldron Troubleshooting: Fix the Most Common Problems
- Bubbling Cauldron Safety for Children, Pets, and Party Guests
- Bubbling Cauldron Cleanup and Storage After Halloween
- Bubbling Cauldron Conclusion: Start Small and Make It Your Own
- Frequently Asked Questions;
Bubbling Cauldron Options: Choose Your Halloween Effect
Before buying supplies, think about what you want guests to experience. Are you planning a quick potion-making activity, decorating a hallway for the month, or creating a dramatic entrance for one evening?
For a short activity, a foaming reaction makes sense. You control when it starts, and the ingredients are easy to measure. For a decoration that stays in place all season, imitation bubbles are more practical.
Fog is a separate effect. Baking soda and vinegar produce fizz and, with soap, foam; they do not produce the thick, low cloud often shown in theatrical Halloween scenes.
| Method | What you see | Best use | Main limitation |
|---|---|---|---|
| Baking soda, vinegar, and dish soap | Real fizzing and foaming | Supervised potion activity or a timed reveal | The reaction stops and needs resetting |
| Clear plastic ornaments | A fixed mound resembling bubbles | A reusable shelf or porch decoration | The bubbles do not move |
| Aquarium air pump and air stone | Air bubbles moving through water | A purpose-built, supervised display | Requires suitable equipment and careful electrical setup |
| Ultrasonic mist maker | A visible cloud of fine water droplets | A decorative fog effect | Needs the correct water depth and manufacturer-approved setup |
| Dry ice in water | A dramatic fog effect | An adult-managed display | Requires special handling and ventilation |
For a first attempt, choose the household-ingredient version. If you mainly want something attractive beside the front door, the dry ornament version may suit you better.
You do not have to combine every effect. One clear visual idea usually looks better than several competing ones crammed into a small pot.
Bubbling Cauldron Supplies for the Simple Foaming Method
Use a small, sturdy, open plastic container for the reaction. It can sit inside a decorative cauldron, which means the outer prop does not have to hold liquid.
This is especially useful with inexpensive Halloween pots. Some are designed for sweets or decoration and may have seams, holes, or thin walls.
For a small trial batch, gather:
- A decorative cauldron or black bowl.
- An open, stable plastic cup or small bowl that fits inside.
- A rimmed tray large enough to catch overflow.
- Two teaspoons of baking soda.
- Two tablespoons of ordinary white household vinegar.
- One drop of liquid hand-dishwashing detergent.
- One or two drops of food colouring, if wanted.
- Measuring spoons and a separate pouring cup.
- Paper towels or washable cloths.
- Properly fitting splash goggles for participants.
These small starting quantities follow the scale of an American Chemical Society foaming experiment. They are for testing the effect, rather than filling a large cauldron. acs.org
Use ordinary household vinegar, typically labelled around 5% acidity, rather than concentrated cleaning vinegar. Check that your powder is baking soda, also called bicarbonate of soda, rather than baking powder.
Choose hand-dishwashing liquid, not dishwasher detergent. Leave out bleach, drain cleaner, disinfectant, and other cleaning products.
The display is a pretend potion, not a drink. Keep its supplies separate from your party refreshments and make that distinction clear to children.
Bubbling Cauldron Preparation: Set Up Before You Mix
A few minutes of preparation make the reveal much easier. Once the reaction starts, you will not have much time to move things around or search for a cloth.
Begin with a flat, washable surface. A sturdy table is more convenient for a supervised activity than the floor, where people may step into overflow. Avoid carpet, unfinished timber, and anything you would be unhappy to stain.
Place the cauldron in the centre of the rimmed tray. The tray should extend beyond the pot on every side. A shallow decorative plate may look tidy, but it will catch much less liquid.
Next, position the reaction cup inside the cauldron. Its opening should be visible near the top. If it sits deep inside a large black pot, guests may hear fizzing without seeing much happen.
A stable, water-resistant support can raise the inner container. Check that it cannot tilt when you pour. Do not balance a full cup on loose decorations.
Measure your ingredients into separate containers and keep the vinegar aside until everyone is ready. Put towels within reach, move phones away from the splash area, and give children a clear viewing position.
Finally, test the empty arrangement. Imagine reaching in with the pouring cup: can you do it comfortably without knocking the pot or leaning across a child?
Bubbling Cauldron Instructions: Make the Foam Rise
The basic process is short. The order matters because you want the bubbling to begin during the reveal, rather than while you are still arranging the display.
- Put two teaspoons of baking soda into the open reaction cup.
- In a separate cup, gently mix two tablespoons of vinegar with one drop of dishwashing liquid.
- Add a drop or two of food colouring to the vinegar mixture, if using.
- Check that the cauldron is centred on its tray.
- Pour the vinegar mixture into the baking soda.
- Stand back slightly and watch the foam develop.
- Leave the container open throughout the reaction.
The American Chemical Society explains that the reaction releases carbon dioxide and that dish detergent helps the bubbles last longer:
https://www.acs.org/education/whatischemistry/adventures-in-chemistry/experiments/gas-sudsation.html acs.org
Foam height varies with the container’s shape and the detergent. A narrow container makes a small amount look taller; a broad bowl spreads it out.
Try the small batch before increasing anything. If you want overflow, use a smaller reaction vessel near the cauldron’s rim rather than immediately multiplying the ingredients.
Never cap the container or try to build pressure. The open, visible foam is the effect you want. There is no need for heat.
Bubbling Cauldron Timing: Plan the Reveal Around the Reaction
The foaming version works best as a moment in your party, rather than a decoration expected to bubble all evening.
Prepare the setting beforehand, but keep the vinegar mixture separate. When guests gather, add it to the baking soda. For a photograph or video, have the camera positioned and recording before you pour.
Do not promise yourself a precise running time. The visible effect depends on the quantities, mixing, container, and detergent. A short active reaction may leave some foam behind, but that remaining foam is different from continued bubbling.
If you need several demonstrations, prepare fresh measured batches. Allow time to remove the used mixture, rinse the inner cup, and reset the display.
It is tempting to keep topping up the same pot. That soon creates a large amount of liquid, makes overflow harder to predict, and leaves you guessing which ingredient remains.
For a children’s party, one adult can manage the ingredients while another helps the group take turns watching. That keeps the activity moving without turning the table into a queue of children holding open cups of vinegar.
Bubbling Cauldron Colour Ideas That Look Good in Real Life
Green is the familiar choice, but the best colour depends on your setting. A pale green foam against a black rim may show up more clearly than a dark mixture hidden inside the pot.
Use food colouring sparingly at first. You can deepen the colour during a later test, while excess dye may stain hands, fabric, grout, or porous surfaces.
Choose a simple colour story:
- Green, black, and silver for a classic witch’s kitchen.
- Purple, black, and orange for a playful party.
- Pale foam, charcoal, and warm amber for an old-fashioned spell room.
- Bright green and white for a friendly children’s display.
Keep expectations realistic: coloured liquid does not always produce equally dark foam. The bubbles may appear much lighter.
Avoid mixing several colours in the same reaction. What begins as purple and green can quickly become a muddy shade that disappears against the black container.
You can introduce extra colour around the cauldron instead. A purple backdrop, orange pumpkin, or green paper label gives the scene character without adding more ingredients.
For photographs, check the result on your phone screen. A combination that looks rich to your eyes may appear almost black on camera.
Bubbling Cauldron Decorations: Build a Scene Around the Pot
A convincing display needs a little context. The foam draws attention, while a few surrounding objects suggest the story.
Try placing a closed notebook beside the cauldron as a pretend spell book. Add a broom, a pumpkin, or empty decorative jars labelled “Moon Dust” and “Dragon Whispers.”
Arrange everything so the reaction tray stays accessible. You should be able to lift out the inner cup without dismantling the whole scene.
Decorations work best when they stay outside the wet mixture:
- Attach a paper potion label to the dry outer pot.
- Place imitation moss around the base, away from lights.
- Use a lightweight plastic ladle as a separate prop.
- Add a small sign saying “Witch’s Brew: Look, Don’t Taste.”
- Keep one taller object behind the pot to frame it.
Avoid small loose eyeballs, beads, and similar pieces where young children can reach them. They also make cleanup more awkward if they disappear into foam.
Skip loose glitter. A shiny ribbon or iridescent decoration gives you sparkle without tiny particles washing into the waste liquid.
Do not add every prop you own. Leave enough empty space around the rim for the bubbles to remain the main attraction.
Bubbling Cauldron Lighting Without a Real Flame
Lighting can make an inexpensive pot look much more atmospheric. You can suggest a glowing fire beneath it without using candles, a hot plate, or actual flames.
Battery-operated LED candles positioned around the base are a simple option. Orange and amber lights create a warm glow; green or purple lighting makes the scene feel more magical.
Keep ordinary lights, switches, and battery compartments out of the liquid and away from the overflow area. A product described as decorative or battery-powered is not automatically waterproof.
If you want a light inside water, use one explicitly rated for that use and follow its instructions. Otherwise, light the cauldron from outside.
For a small indoor display, try placing a light slightly to one side. This can make the edge of pale foam easier to see than lighting it from directly behind.
Avoid surrounding LEDs with tightly packed paper, fabric, or other material unless the product is designed for that arrangement. Leave controls accessible so you can switch everything off easily.
A quick evening test is worthwhile. Turn off the room’s brightest overhead light, check the walking route, and adjust the decoration until guests can see both the cauldron and where they are stepping.
Bubbling Cauldron Alternative: Make Reusable Imitation Bubbles
If you want a decoration that stays ready for visitors, use clear plastic ornaments to create a fixed bubble effect. This version is dry, so there is no reaction to reset.
Gather a black cauldron, shatter-resistant plastic ornaments in several sizes, a removable support insert, and an adhesive suitable for the materials. Optional battery LEDs can provide an external glow.
Start by making an insert that rests securely inside the pot near its opening. For a sheltered indoor decoration, sturdy craft board may work; for a damp location, choose a more suitable water-resistant material.
Arrange the ornaments before attaching them. Place larger ones near the centre, then use smaller ones to soften the edges. Keep their hanging loops or openings turned away from the viewing side.
Build a modest mound instead of covering the entire cauldron. An uneven outline looks more like rising bubbles than a perfectly level row.
An adult should handle hot glue, if used, and follow the adhesive’s directions. Test it on a spare ornament first because some plastics distort with heat.
Allow everything to set fully, then check for loose pieces. A removable insert makes storage easier and lets you reuse the pot for another display. This version suggests bubbling visually; it does not produce moving bubbles.
Bubbling Cauldron Fog: Understand the Difference Before Adding It
If the image in your head includes a white cloud spilling over the rim, the household foaming recipe will not create it. Decide whether you actually need fog before buying another device.
An ultrasonic mist maker creates fine water droplets. It is a separate appliance with requirements for water depth, placement, power, and maintenance. Choose a unit intended for decorative use and follow its own instructions.
Do not put one into the baking soda, vinegar, and soap mixture unless the manufacturer explicitly permits those additives. Combining projects can damage equipment or create a difficult mess.
Dry ice is another option, but it calls for more care. It can cause cold burns, and the carbon dioxide it releases can accumulate in poorly ventilated spaces.
Poison Control advises protective gloves, good ventilation, and keeping dry ice out of drinks:
https://www.poison.org/poison-prevention-tips-by-season/halloween Poison Control
For this beginner project, staying with foam or imitation bubbles is simpler. If an experienced adult chooses dry ice for a separate display, keep it away from children and pets, never seal it in an airtight container, and follow the supplier’s handling guidance.
Fog is an optional extra. A well-styled cauldron can look complete without it.
Bubbling Cauldron Troubleshooting: Fix the Most Common Problems
Most disappointing results come from scale or presentation. The reaction may be working perfectly while the container makes it difficult to see.
The mixture fizzes, but the foam looks thin. Check that you included hand-dishwashing liquid. On your next small test, adjust the soap slightly. Pouring in a large quantity can create excessive suds and unnecessary cleanup.
The bubbles stay far below the rim. Raise the stable inner container or choose a smaller decorative pot. Filling a giant cauldron with ingredients is an expensive way to solve a visibility problem.
The effect ends too soon. Treat it as a timed reveal. Prepare another measured batch rather than expecting the first one to run throughout the party.
The colour barely shows. Try a slightly stronger colour in your next test, or improve the lighting. Dark surroundings often matter more than extra dye.
Liquid spills beyond the tray. Stop and clean it up before continuing. Use a deeper tray, smaller batch, or more central position for the next attempt.
The reusable bubbles look too tidy. Vary the ornament sizes and stagger their positions. Check the arrangement from the direction visitors will approach.
The whole display looks cluttered. Remove two or three props. A clear view of the black rim and rising foam often improves the scene immediately.
Bubbling Cauldron Safety for Children, Pets, and Party Guests
Treat the foaming activity as a supervised experiment. Familiar ingredients still need sensible handling, particularly when people are excited and wearing costumes.
Use splash goggles, avoid leaning over the opening, and follow ingredient-label precautions. An adult should control the setup and guide children through any measuring or pouring.
Keep these practical boundaries:
- Do not taste the mixture.
- Keep the reaction container open.
- Use only the listed ingredients.
- Keep refreshments on a separate table.
- Wipe up slippery spills promptly.
- Keep pets away from the mixture.
- Place the display on a stable surface.
- Keep costumes, trailing sleeves, and cords clear of the work area.
Do not let a decorative ladle become an invitation to drink. A clear “Do Not Drink” label helps, but supervision matters more than a sign.
For young children, let participation match their ability. Choosing a colour or counting spoonfuls may be enough; they do not need to manage the pouring.
If the decoration stands near an entrance, leave room for visitors to pass without brushing against it. Check the area again after dark, when a black tray or cable may be harder to see.
Bubbling Cauldron Cleanup and Storage After Halloween
Cleanup is easier when you keep the working parts separate from the decoration. A removable inner cup saves you from carrying a large, slippery pot full of used mixture.
Wait until the active fizzing has stopped. Remove any solid decorations, then dispose of the small household mixture according to local guidance and the ingredient labels. Do not pour it onto plants or into an outdoor storm drain.
Rinse the reaction cup and tray thoroughly. Wipe the table and floor, including places where a little foam may have spread unnoticed.
Dry the decorative cauldron before storing it. Check its underside, handles, and any glued details, especially if it stood in overflow.
For the dry ornament version, lift out the bubble insert if possible and pack it so the ornaments are not crushed. Remove batteries from lights before long-term storage.
Keep a short note with your supplies: container size, ingredient quantities, chosen colour, and what you would change. A photograph of the finished arrangement is useful too.
That small record saves you from repeating the same trial-and-error process next year. You can set up the version that worked and spend your time adding one fresh detail.
Bubbling Cauldron Conclusion: Start Small and Make It Your Own
Learning how to make a bubbling cauldron for Halloween is easier when you choose the effect first. Use baking soda, vinegar, and a little dishwashing liquid for a supervised burst of foam. Choose a dry ornament insert when you want a reusable decoration.
Begin with a small test, keep the reaction vessel stable and open, and give overflow somewhere to go. Then build the atmosphere with colour, a few well-chosen props, and suitable LED lighting.
You do not need a huge pot or a complicated setup to make guests pause. A clear view of the bubbles, a little anticipation, and a thoughtfully arranged scene can turn an ordinary corner into the witch’s kitchen everyone remembers.
Frequently Asked Questions;
1. Can I make an edible bubbling cauldron for serving Halloween punch?
The recipe in this guide contains dishwashing liquid and must never be served as a drink. For an edible version, use a separate, food-safe bowl with a tested punch recipe. Add sparkling water shortly before serving for gentle fizz, although it will not create the same thick foam.
2. Can I use a kitchen mixing bowl instead of buying a Halloween cauldron?
Yes. A suitable kitchen bowl can hold the small reaction while removable black card or a decorative outer container creates the cauldron appearance. Keep paint, glue, and craft decorations away from surfaces you intend to use for food.
3. How can I hide the vinegar smell during an indoor Halloween party?
Avoid trying to cover it with perfume, essential oils, or additional chemicals. Use a small batch, ventilate the room, and remove the used mixture after the demonstration. If the smell would bother guests, choose the dry imitation-bubble version.
4. Can I make the cauldron without food colouring?
Yes. Food colouring is optional and only changes the appearance. Plain white foam against a black cauldron can look effective, especially when the surrounding decorations provide the colour. Leaving out dye also reduces the chance of coloured stains.
5. What should I check before using this activity in a classroom?
Ask the teacher about school rules for experiments, approved ingredients, protective equipment, and cleanup. Share the ingredient list beforehand and confirm whether any pupils need an alternative way to participate. Plan an observation role for children who prefer not to handle the materials.
6. How can someone with limited hand movement participate?
Place the activity at a comfortable height and offer roles that do not require gripping or pouring. They could choose the colour, direct the countdown, describe what happens, or record the demonstration. Ask what assistance they prefer before helping.
7. Can I paint a cheap plastic cauldron to make it look like old iron?
Yes, provided the paint is suitable for that plastic. Paint the exterior, follow the product’s preparation and ventilation instructions, and allow the full stated drying or curing time. Keep the reaction in a separate inner container so it does not touch the painted surface.
8. How do I transport a finished cauldron to a party without damaging it?
Transport the cauldron empty, with ingredients sealed separately in their original labelled containers. Pack removable decorations individually and assemble the working setup at the venue. For an ornament version, support the bubble insert so its glued joints do not carry the weight during travel.
9. What should I change if rain is forecast for an outdoor display?
Move the display to a dry, sheltered location and check that every component is suitable for the conditions. Rain can damage paper decorations and adhesives, while electrical items need the appropriate outdoor rating. Bring the display indoors if you cannot keep the setup suitable and secure.
10. Can I prepare bubbling-cauldron kits as party favours?
You can prepare a supervised activity kit, but leave ingredients in clearly labelled packaging rather than disguising them as sweets or drinks. Include written instructions, measured quantities, and an adult-supervision notice. Give kits directly to parents or carers so they understand how the activity should be used.